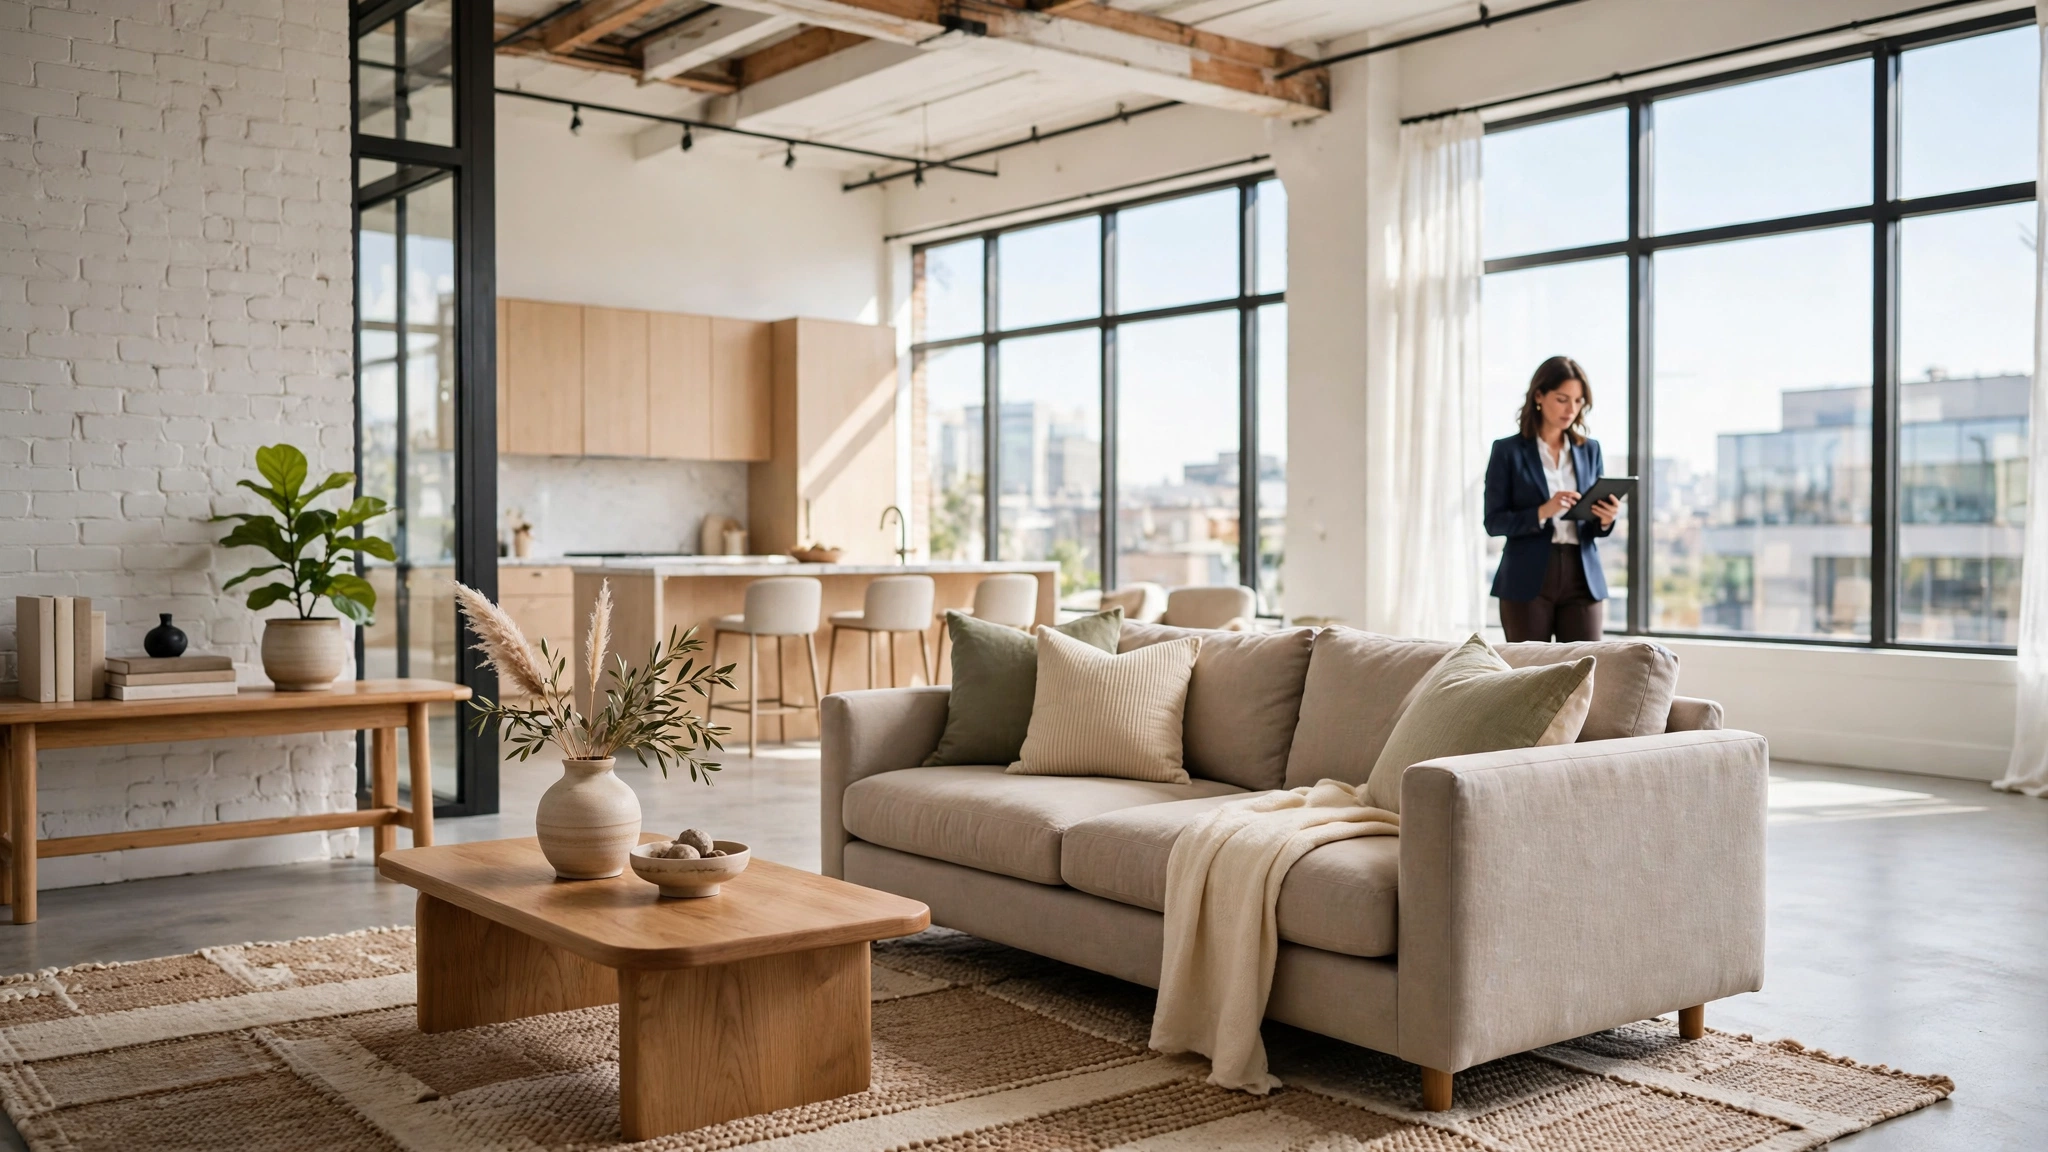
Virtual Staging That Actually Helps a Listing Sell: What Works, What Hurts, and What It Costs
An empty room photographs smaller than it is. I learned that the hard way early in my career, walking buyers into a vacant loft that looked generous online and then felt cold and confusing in person. The ceiling height was there. The light was there. What was missing was scale. Buyers could not tell where a couch would go, whether a king bed fit, or if the dining area held four people or eight. They left saying the place felt off, when the real problem was that nothing in the room gave them a reference point.
Virtual staging fixes that problem when you do it right, and it creates a bigger problem when you do it wrong. Done well, it helps a buyer understand a home in three seconds on a phone screen. Done poorly, it looks fake, it misleads, and it kills trust the moment the buyer walks in and sees bare floors.
This is how I use virtual staging: which rooms to stage, how to keep images honest, what it costs, and how to pair staged photos with real ones.
Key Takeaways
- Stage for scale and flow first. The living room, primary bedroom, and dining area give buyers the reference points they need most. Small secondary rooms rarely need it.
- Always disclose virtual staging clearly and keep an unstaged version of the same angle in the photo set. Trust is worth more than one pretty image.
- Keep furniture proportional, plain, and in the style of the home. If a buyer notices the staging before they notice the room, you went too far.
- Budget about $25 to $75 per virtually staged photo from most vendors, or use a tool you already pay for. Full physical staging for a vacant home often runs $2,500 to $6,000 plus monthly rental, so virtual staging makes sense for most mid-priced vacant listings.
- Use virtual staging to earn the showing, then make sure the in-person experience still works: clean, light, and empty is fine if the photos set the right expectation.
Why Vacant Listings Lose Online
Most buyers meet your listing as a set of thumbnails. They scroll fast, usually on a phone, and they decide in a few seconds whether to tap, save, or move on.
An empty living room gives them nothing to judge. White walls, wood floors, and a window all look the same from one listing to the next. There is no sense of whether the room is long or square, whether it holds a sectional or just a loveseat, or whether the open plan actually flows from kitchen to living to dining.
A staged version answers those questions instantly. A couch shows width. A rug shows the seating zone. A dining table shows that six chairs fit. That clarity gets more saves and showing requests, but it has to be honest. If the virtual couch is drawn too small, the room will feel like it shrank when the buyer visits.
When Virtual Staging Helps Most
Virtual staging is not right for every listing. It helps most in four situations I see again and again.
Vacant homes and lofts with open plans
Open plans are the hardest to read empty. One big rectangle with a kitchen at one end leaves buyers guessing where living ends and dining begins. Virtual staging that defines two or three clear zones solves the whole floor plan in one image. This is the single best use case, and it is where I start on almost every vacant listing.
Homes that have been sitting
If a listing has sat for three weeks with traffic but no offers, photos are often part of the problem. Virtually staging the three main rooms and refreshing the lead photo gives it a second launch. Pair it with a real price or copy improvement, not on its own.
Rental listings and investor units
For rentals, speed matters more than perfection. A tenant deciding between five similar units needs to picture their bed and desk in the room. One staged bedroom and one staged living room photo do that work. I use virtual staging on rentals far more freely than on high-end sales, because the decision is about fit and monthly cost, not about finishes.
When to Skip It and Stage for Real
There are homes where a screen cannot do the job.
High-end listings usually need physical staging. A $1.5 million home with flat virtual furniture will feel cheaper than the same home shot empty and well lit. Homes with odd layouts, slopes, low beams, or a step down also need care, because virtual staging can hide what a buyer needs to understand. Shoot those rooms empty and wide.
If a home is occupied, do not replace real furniture with a fake set. Declutter, edit, and photograph what is there. That is the approach behind the virtual staging tool in Agent Copilot AI: start from the real room, keep the architecture exactly as it is, and only change what helps a buyer read the space.
The Rooms to Stage, in Order
If your budget covers only three images, spend it in this order:
- Living room first. This is almost always your lead or second photo. It sets scale for the whole home and it is the room buyers spend the most imagined time in.
- Primary bedroom second. Buyers need one answer here: does a king or queen fit with nightstands and walking room? Stage the bed at true size and show both sides.
- Dining area or eat-in kitchen third. Show the table size that honestly fits. Four chairs in a nook that holds four, not six chairs squeezed into a space that holds four.
- Skip most bathrooms and kitchens. They sell on finishes and light, not furniture. Never virtually change counters, tile, fixtures, or appliances.
Two more rules that save me headaches: stage no more than half the photo set, and keep the photo order honest. Alternate or group so a buyer scrolling can easily find the empty version of each staged angle.
How to Keep It Honest and Stay Out of Trouble
Disclosure is not optional, and it protects you as much as the buyer.
- Label every virtually staged photo in the caption or on the image where your MLS allows it, using plain words: Virtually staged.
- Include the unstaged photo of the same angle right after the staged one. That pair is your proof that you showed scale, not a different home.
- Never virtually change the structure. No removing walls, no adding windows, no fixing cracks, stains, or damage, no changing flooring, paint color, or views. Furniture, rugs, lamps, and art only.
- Check your MLS and brokerage rules before you post. Most MLSs allow virtual staging with disclosure and prohibit altering the property itself. The line is consistent: you may show what could be in the room, you may not change the room.
- Keep proportions true. Ask your vendor or tool for standard furniture dimensions and check one item per room. A sofa is roughly 84 inches long. A queen bed is 60 by 80 inches. If those look wrong in the render, send it back.
I add one line to the copy: Photos include virtually staged images for scale. Home is vacant and shown as photographed in the unstaged images.
For the full copy workflow I use on a new listing, the MLS description generator helps me draft that disclosure line and the room descriptions in the same pass, so nothing gets dropped when I am moving fast.
What Good Staging Looks Like
Good virtual staging is boring in the best way. The furniture should disappear into the room's logic.
Pick one style and hold it across all staged rooms. Modern listing, modern furniture. Traditional home, transitional furniture with softer lines. Mixing a farmhouse table with a glass modern couch in the next room makes the whole set feel assembled, because it was.
Keep the palette light and limited. Two or three tones that work with the floor and wall color, one rug per room, art that is abstract and calm. Avoid bold patterns, personal photos, sports items, or anything that dates the room or signals a specific lifestyle the buyer may not share.
Mind the light and keep extras minimal. Shadows should match the window light, and plants, books, and a throw are enough. If one render looks off, cut it. Two strong staged images beat five shaky ones.
Cost and Turnaround, With Real Numbers
Prices vary by market and vendor, but these are the ranges I see agents actually pay:
- Per photo virtual staging: about $25 to $75 per image, with most standard orders landing near $35 to $50. Rush delivery, usually 12 to 24 hours instead of 24 to 48, adds a small premium.
- DIY and AI tools: often included in a monthly tool subscription in the $20 to $50 range for a set number of images, which is cheaper if you list regularly and are willing to do your own quality check.
- Physical staging for comparison: commonly $2,500 to $6,000 for initial styling and furniture rental for a typical vacant home, plus $500 to $1,500 per month to keep it in place, plus the cost and delay of delivery and pickup.
The math is straightforward. On a $450,000 vacant listing, staging three rooms virtually for $120 to $180 total is an easy yes if it earns even two extra showings. On a luxury listing that will sit for 60 days of in-person showings, physical staging often pays for itself in how the home feels across all those visits.
Turnaround matters too. Build in one extra day for revisions, because about one in three first renders needs a fix.
My Step by Step Workflow
Here is the exact order I follow on a vacant listing:
- Step 1: Shoot the empty home well first. Clean, all lights on, blinds consistent, wide lens without distortion at the edges. Virtual staging cannot save a dark or crooked photo. Fix the photo before you stage it.
- Step 2: Pick three angles maximum for the first order. Living, primary bedroom, dining. Note the true dimensions of each room from your floor plan or measurements.
- Step 3: Send a style note with the order. One sentence is enough: Light transitional, oak floors, white walls, target buyer is a first-time buyer, keep it minimal. Vendors guess less when you give them the buyer.
- Step 4: Review renders at phone size. That is how buyers will see them. Check proportions, shadows, and whether any structural detail changed. Zoom in on baseboards, outlets, and window frames, where bad renders slip.
- Step 5: Build the photo set in pairs. Staged, then same angle empty. Write the disclosure captions as you upload, not later.
- Step 6: Write copy that matches. Do not describe virtual furniture as a feature. Describe the room: size, light, what fits, and flow to the next space. More on how I approach the overall site and tools is on the about page, and the full tool set is at Agent Copilot AI tools.
- Step 7: Prep the vacant home for showings. Even virtually staged listings show empty, so make empty feel good: spotless floors, all bulbs working, and a one page floor plan at the door showing the layout from the photos.
Mistakes I See Agents Make
The most common mistake is staging every room, including tiny bedrooms that look smaller with a badly scaled bed in them. If a room is 9 by 10, an empty photo with clear dimensions can sell it better than a render that pretends it holds more than it does.
The second is changing paint or floor tone to warm up the image. That is not staging, that is altering the home. Buyers who loved the warm floor online and find a gray floor in person will assume other things were altered too.
The third is launching with staged photos only and no empties in the set. Even where rules allow it, it costs trust and showing feedback gets worse because buyers arrive with the wrong picture in mind.
Frequently Asked Questions
Is virtual staging legal and allowed by the MLS?
In most markets yes, with clear disclosure and no changes to the property itself. You may add furniture and decor in an image, label it as virtually staged, and include the original photo. You may not remove defects, change finishes, or alter the structure. Always check your local MLS photo rules and your brokerage policy, because the detail varies.
How many photos should I virtually stage?
For most listings, three to five. Living room, primary bedroom, and dining area cover the buyer's main scale questions. Stage more only for large vacant homes with several undefined spaces, and never stage the entire set.
Can I virtually stage an occupied home?
You can declutter and edit a real photo, but do not replace an owner's furniture with a fully fake set in a home buyers will visit furnished. The mismatch creates confusion. For occupied homes, edit lightly, photograph honestly, and save full virtual staging for after the home is vacant.
What should I do if a render looks fake?
Do not post it. Ask for a revision focused on the specific problem: furniture scale, shadow direction, or style mismatch. If a second revision still looks off, use the empty photo for that room. One fake looking image makes buyers question the rest of the listing.
Virtual staging works when it does a small, honest job really well: it shows a buyer how a room lives, at true scale, in a style that fits the home, with the empty truth right next to it. Keep it to the rooms that need it, disclose it plainly, and spend the money you saved versus physical staging on the things buyers feel in person: a deep clean, good light, and a price that matches the evidence. That combination earns showings online and keeps them productive when the buyer walks in.