Listing Video Walkthroughs: How Agents Shoot a Tour That Gets Buyers Off the Couch
Key takeaways
- A walkthrough is not a slideshow of photos. It shows how a home flows, how big rooms feel, and what it is like to stand in the space.
- Keep the main tour under three minutes, shoot in the order a buyer would walk the home, and say only what photos cannot show.
- A current phone, a gimbal, good light, and a planned route beat expensive gear used without a plan.
- Cut short vertical clips from the same footage for social media. One shoot should feed a week of marketing.
- End every video with one clear next step: a showing time, an open house, or a question a buyer can answer by text.
I list lofts and condos for a living, and I learned this the hard way. Buyers scroll through 40 photos and still have no idea how a home is laid out. They cannot tell if the kitchen opens to the living room or sits down a hallway. They cannot tell if the primary bedroom fits a king bed or just looks that way with a wide lens. So they skip the showing, because the home never made sense on a screen.
Video fixes that. A steady walkthrough, shot in walking order, answers the layout questions before a buyer books a tour. It also filters showings in the best way. People who show up have already walked the home on their phone. They are there to confirm it feels right and check the details, not to discover in 30 seconds that the layout does not work for them.
This is the system I use on my own listings, from planning the route to cutting the short clips that get shared.
Start With What the Video Has to Prove
Every home has two or three things photos undersell. Write those down before you shoot. That list is your shot plan.
- Flow. How you get from the front door to the living room, kitchen, bedrooms, and outdoor space.
- Scale. Ceiling height, a living room that fits a real sofa, a dining area that seats six. Put a person in one shot if scale is the selling point.
- Light. Which rooms get morning or afternoon light, and how bright the home feels on a normal day. Shoot when the light is best.
- The one feature buyers will remember. A view, a double height ceiling, a quiet patio, a den that works as a second bedroom, an island that seats four. Build toward that feature instead of giving it away in the first five seconds.
Write your route on one page: front door, entry, living space, kitchen, dining, primary bedroom and bath, second bedroom and bath, outdoor space, and a closing shot from the best angle in the home. Follow the route a guest would take, not an order that makes the layout look simpler than it is. If you cannot name what the video must prove, you will film every corner equally and nothing will stand out.
Prep the Home Like It Is a Showing
Video is less forgiving than photos. A photographer can shoot around a cluttered counter. A camera walking through a room shows everything, including cords behind the TV and mail by the door.
- Open every blind, turn on every light, and replace burned out bulbs. Buyers read a dim room as a small room.
- Clear the walking path. Move the laundry basket, the dog bed in the hallway, and the shoes by the door for the 20 minutes you shoot.
- Stage the small signals. Made bed, towels straight, toilet lids down, counters clear except for one or two intentional items. Small mess reads big on video.
- Check sound. Turn off the TV, dishwasher, and loud fans. Close windows facing a busy street for interior shots.
- Handle the storage room honestly. Shoot it briefly as it is, and add a virtually staged photo of that room to the listing set so buyers can picture its real use. The virtual staging tool is what I built into Agent Copilot AI for that exact gap.
Do a slow practice walk first. You will find the squeaky floor spot, the door that swings into your path, and the bathroom mirror that catches your reflection. Plan around them.
The Simple Gear Setup That Works
I have shot walkthroughs with a full rig and with just a phone. The phone tours, shot well, got showings just as well. Steadiness, light, and route matter more than gear.
- A current phone on its widest rear setting. Wipe the lens first. That removes the soft haze on half the listing videos online.
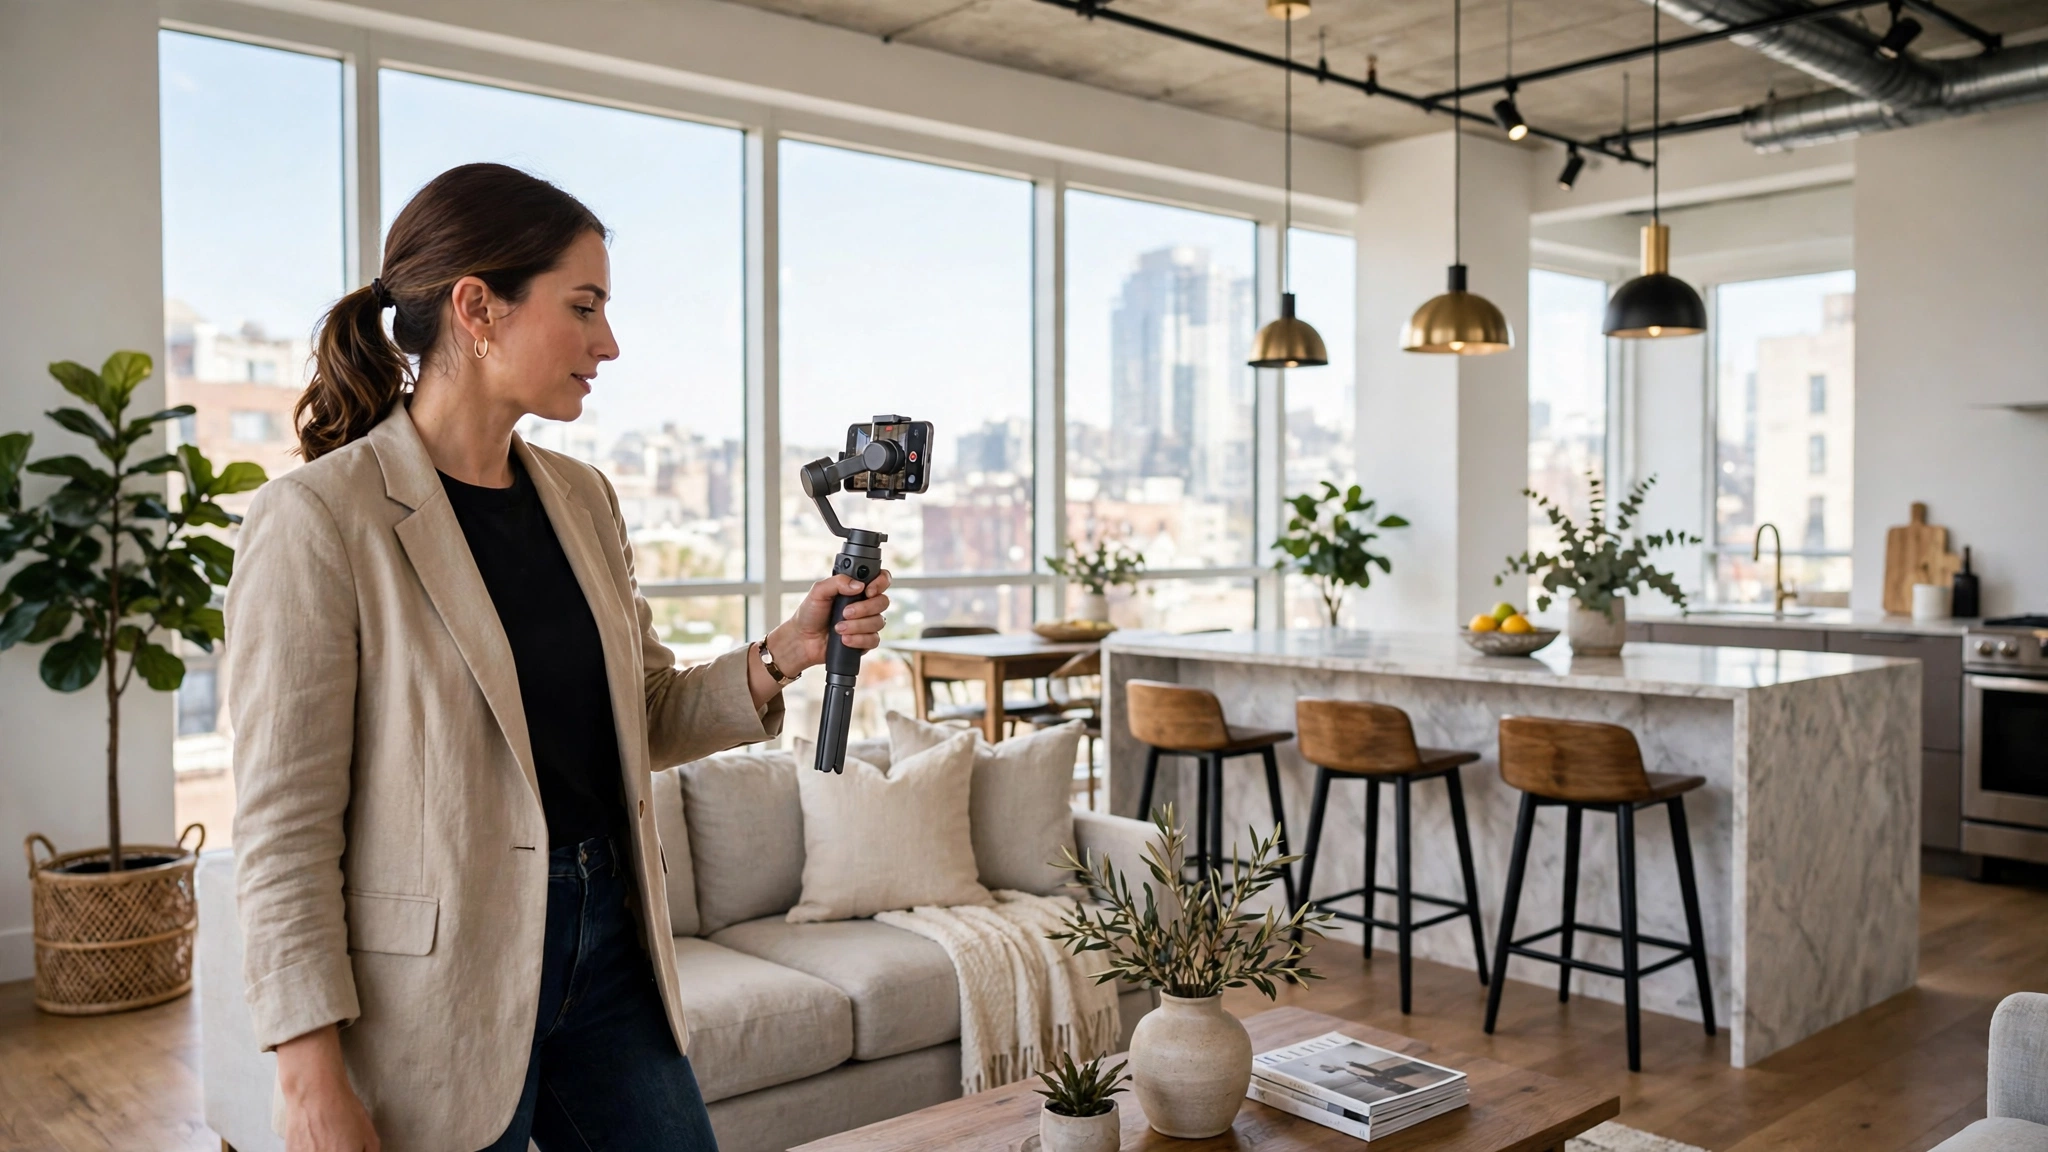
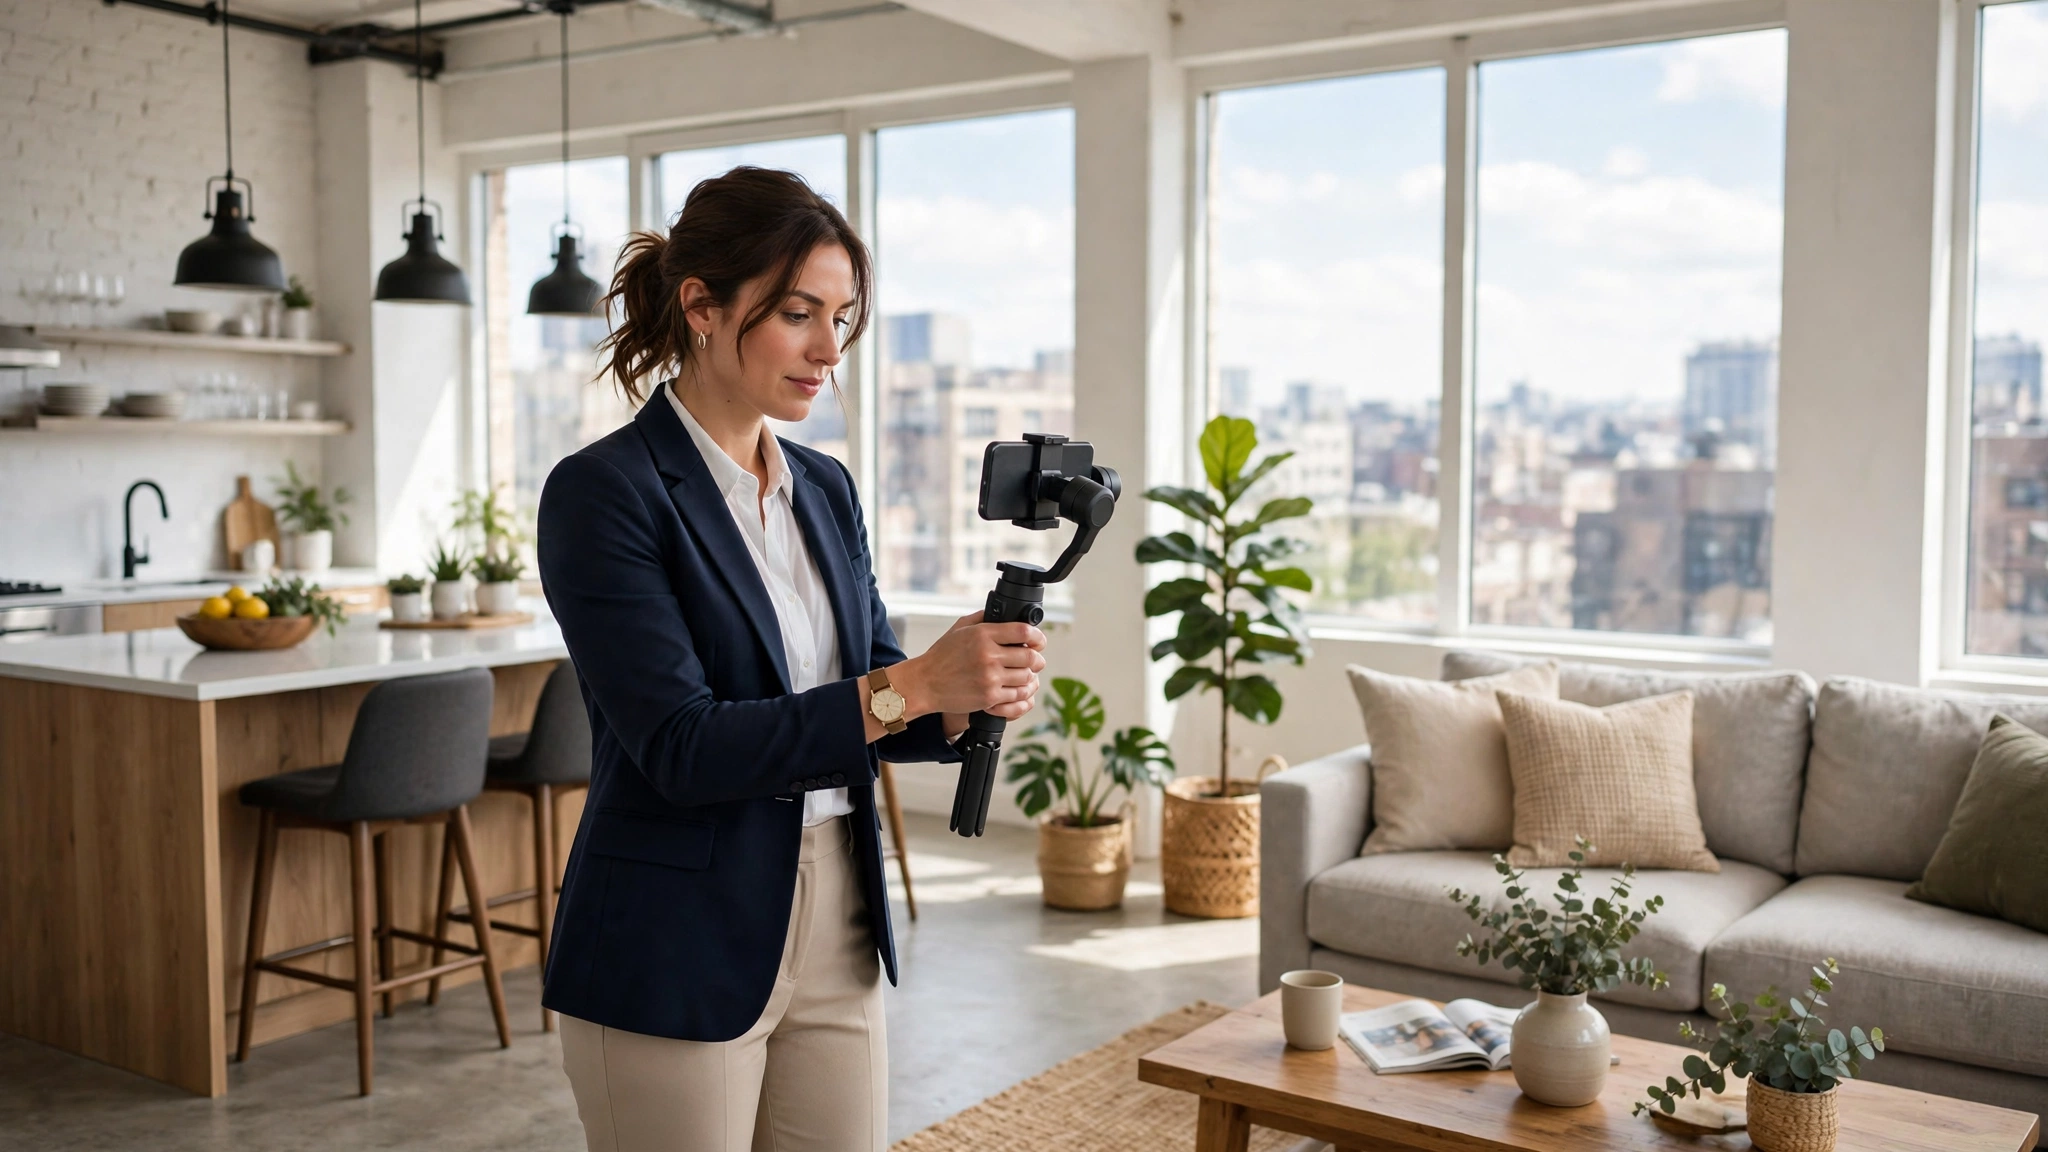
- A simple gimbal, in the 100 to 150 dollar range. It removes the bounce from your steps, the biggest difference between a professional feeling tour and one that makes people seasick. Without one, walk slowly, bend your knees slightly, and hold the phone with both hands close to your body.
- Lock your exposure inside. Tap and hold on a mid tone area so brightness does not jump every time you pass a window.
- Shoot horizontal for the main tour. Portals and laptops favor it. Cut vertical clips separately for social.
- A small wireless mic if you talk on camera, in the 30 to 60 dollar range. Hard surface lofts and empty homes echo, and clean audio helps more than any editing trick.
Buy the gimbal and mic before a camera body. Then spend your time on route and light, which are free.
How to Shoot the Walk
Most agent videos fall apart here. The agent walks too fast, pans too fast, and narrates every square foot. The buyer gets dizzy and clicks away in 20 seconds.
Walk slow, then slow down again
Walk at about half your normal pace. What feels painfully slow while shooting looks calm on playback, because video exaggerates movement. Pause two full seconds when you enter each main room so the buyer can register the space. Move forward, not backward. Avoid fast spins in the middle of a room. To show a room from two sides, walk to the far corner, pause, and turn slowly. Keep the phone level, at chest to eye height.
Film in short pieces
Shoot room by room in clips of 10 to 30 seconds, in route order. Short clips are easier to redo when a car alarm goes off, and easier to edit. Leave two seconds of still footage at the start and end of each clip so your cuts are clean instead of jumpy.
Show connections, not just rooms
The most valuable seconds in a walkthrough are the transitions: living room into kitchen, hallway into primary bedroom, door out to the patio. Those connections are the layout. A video that cuts from room to room with no transitions is just moving photos. Open doors as you go. A closed door is a dead end on video. A door opening into a bright room is an invitation.
Talking on Camera: What to Say and What to Skip
Three options work, and all beat silence under background music.
- Talk while you walk, naming only what is not obvious. "Kitchen redone in 2023, island seats four, window faces west" adds information. "Here is the kitchen" adds nothing.
- Record a voiceover after editing. Cleaner if you stumble while walking or the street is loud. This is what I use most on occupied homes.
- Use captions with no voice for short social cuts. Many buyers watch with sound off, so name the room, one feature, and the key numbers in text.
Say what photos cannot prove: ceiling height in feet, whether street noise disappears when windows close, the walk to coffee in actual minutes, and that the second bedroom fits a queen bed and a desk because the sellers used it that way. Skip hype words. If a script says stunning and luxurious in the first minute, buyers stop believing it by the second. Plain and specific wins, the same rule I use for remarks. For a fast first draft of remarks that match your script, the MLS description generator in the full set of tools is a good starting point. I still rewrite every draft in my own words, and your script should get the same pass.
Also, do not misrepresent the home. Lenses that stretch rooms, filters that change paint colors, or edits that hide a flaw a buyer will find at the showing only waste time and damage trust. Show the home at its best, and show it truthfully.
Cut One Shoot Into Three Videos
One 30 to 45 minute shoot should feed a week of marketing.
- The main tour, two to three minutes, horizontal. For the listing, the property page, YouTube, and every inquiry reply. Open with a three second shot of the best space, then restart at the front door. Attention is earned in the first seconds or lost.
- A 45 to 60 second vertical cut. The best three or four spaces, captioned, ending with price, beds, baths, and the showing or open house call to action. Keep text in the middle of the frame so platform cropping does not cut it off.
- Two or three 15 second feature clips. The sunset view. The island with stools pulled up. The quiet patio, with the door closing so buyers hear the quiet. These short, specific clips are the ones agents and past clients actually share.
Put it all on one property page, tour at the top, photos below, and a showing request. That is the job of the listing page tool. One clean link beats four links scattered across texts and emails. Post the main tour on launch day, the vertical cut the next day, and the feature clips over the following four or five days.
Where to Put It, and the Mistakes to Avoid
Place the video deliberately. Put it first in the listing media order where your MLS allows it, or early in the remarks where rules permit. Send it in every inquiry reply for the first two weeks. A short answer plus the tour link often answers a buyer's next three questions and turns an inquiry into a showing. Send it directly to agents who work the building or neighborhood, with one honest line about who the home fits. Pin it on your social profile for the life of the listing, and repost once when something changes, like a price improvement or an open house weekend.
Track completion, how many viewers pass the halfway point, and showings booked by people who watched. Low completion usually means your opening or pace is the problem, not the home. Start with the best space and cut rooms that add nothing.
The mistakes I see most often:
- Shooting as an afterthought, in bad late light after a day of showings. Schedule video at the best light, even if it means a separate short visit.
- Filming the agent instead of the home. A short hello on camera works. Five minutes of an agent standing in rooms is a video about the agent.
- Stretching a small room with a lens instead of showing it honestly with a real bed in it. The showing reveals the truth anyway.
- No call to action. A tour that fades to black wastes the attention it earned. End with the address, the next open house or showing window, and how to book.
- Posting once and never reusing it. The tour belongs in follow up, in price improvement announcements, and in a note to an agent whose buyer passed in week one.
More on how I think about listing marketing, and why I am building these tools, is on the about page.
Frequently Asked Questions
How long should a listing video walkthrough be?
Two to three minutes for most homes. That is long enough to walk every main space with a pause in each room, and short enough that buyers finish it. Large homes can run to four minutes if every section adds a new space. Over five minutes usually means repeated rooms or too much time in hallways and closets.
Can I shoot a good walkthrough with just my phone?
Yes, if you handle steadiness, light, and pace. Use the widest rear lens, wipe it clean, lock exposure, walk at half pace, and use a gimbal if you can. Hire a professional for luxury listings where sellers expect production quality, or when your own time is better spent selling.
Should I talk during the video or add a voiceover later?
Either works. Talking while you walk feels natural and is faster. A voiceover after editing is cleaner in empty homes that echo or on loud streets. In both cases, say only what photos cannot prove, and add captions because many buyers watch with sound off.
What is the best time of day to shoot?
When the main living spaces get their best natural light. That is late morning for many east and south facing homes and mid afternoon for west facing ones. If a sunset view is the feature, shoot the interior in good light and return for a short separate sunset clip.
Where should I post the walkthrough besides the MLS?
On the property page and YouTube, in every inquiry reply, and directly to local agents who work the area. Cut a vertical version under 60 seconds for Instagram and TikTok, and reuse the main tour in follow up and in any price improvement announcement. One shoot should produce showings for the life of the listing, not just launch weekend.
A good walkthrough does not sell a home by itself. It makes the right buyers confident enough to book a showing, and it saves the wrong buyers, and you, a wasted trip. Plan what the video has to prove, prep the home like a showing, walk slow, say only what photos cannot, and cut the same shoot into a week of marketing. Do that on every listing, and video stops being an extra. It becomes part of how your listings launch.